Pages

October 25, 2012

Luna Lovegood Costume from Harry Potter


So, what does a mommy dress up as when her daughters are Hermione and Hedwig?? 

How about Luna Lovegood?!

I already have the blondish hair that I can make wavy like hers...

About.com has a template for the Spectrespecs - which I printed onto cardstock, cut and glued onto play glasses.

The Radish Earrings I made with fimo clay that I shaped and baked right onto an old pair of earrings so I could use the posts. 


I found an image of The Quibbler magazine doing a google search, and printed it onto cardstock and glued it to cardboard. 

Since I just had a baby a week ago, I figured baby could be "The Quibbler" (fitting??) :) 
So, when I wear her in the wrap, the quibbler can be taped on.  Whatever works, right?

Now, to make daddy Harry Potter...luckily a lightening bolt and a pair of round glasses are pretty distinct.  And I made him a scarf too :)

I love that our kids let us dress up as a family theme.  And thank you new baby for coming in time to let me trick or treat with my kiddos.  I love Halloween!
image signature

October 24, 2012

Harry Potter Halloween Costumes!


My oldest daughter has been planning on dressing up as Hermione from Harry Potter since before last Halloween!  If there is one thing we can say about her, it's that she knows what she wants :)
Since we love having a family theme - we decided to make her little sister the owl, Hedwig.

This Hermione costume is made up of an embellished black robe, a Gryffindor scarf that I made from flannel, and a fun DIY felt trick-or-treat bag - made Hermione style. 

Below you can see the simple steps I took to make the scarf...
1) I cut rectangles of yellow and maroon fabric - about 7" wide and 4" tall
2) I sewed the rectangles right sides together along the long edge.  2 lengths were required - each about 48" long.
3) I sewed the long lengths of fabric, right sides together, along 3 edges (leaving 1 short edge open for turning right side out).  This created a tube and once it was turned right side out, I sewed the opening closed with a top stitch. 
4) Using a freezer paper stencil, I painted a Gryffindor crest onto one of the yellow rectangles.
5) I made a little tube of flannel with a button on one end and a button hole on the other to wrap around the scarf to keep in place on my daughter's neck.
6) Shows the Completed Scarf


The trick or treat bag I made from felt.  These bags are so fun to make - and add a really unique detail to whatever theme you are going for.  This bag is supposed to look like books, since Hermione loves school and loves to read. 

Above, one side of the bag is the book Hogwarts: A History.
Below, the other side of the bag is is the book The Tales of Beedle the Bard.
Hop on over to that post to see the full tutorial!


And here is our little owl.  She loves to say "Trick or Tweet" :) which I think is so cute...

I got inspiration from a tutorial I found on Alphamom.  I got an inexpensive white long sleeve shirt from the thrift store, and sewed tons of feather shaped pieces of fabric onto it in rows.  I think it turned out really cute.  The hat is a couple pieces of felt sewn into a cap shape, with an elastic on the bottom to hold it on her head.  The eyes and nose are brown felt and yellow buttons.


Her bag is also custom made - with the same tutorial I referenced earlier.  It is the Hogwarts acceptance letter that the owls carry to Harry Potter.


We are so excited to go trick or treating this year - and I love that my sweet kids are all good with homemade costumes.  Even my little week old baby will be incorporated into my Harry Potter costume (I told you this was a family affair), but you'll have to wait for those pictures :)

Happy Harry Potter Halloween!!
image signature

October 18, 2012

Sheet Fort - Over the Table


Do your kids love making forts?
Mine go through spurts - and I remember thinking forts were totally fun when I was a kid.  We just have such a small house, that it is hard for them to find space, and for me to live with piles of blankets and pillows around for any amount of time.

When I saw these amazing card table playhouse covers on etsy - I was inspired! 
How clever to give the fort a table for a frame - and it doesn't take up any extra space in our house!!

So, I gathered up a few unused flat sheets from the linen pile, and decided to piece together a cover for our big dining table.  Nothing fancy - but the kids sure love it!

I cut pieces of different sheets for the top and all 4 sides of the table - and I used the already finished sheet edges as the edges that hung at the floor.  This saved me a lot of hemming!

The back side (pictured above) has no embellishment, so I sewed it to the top, right sides together.  That's all. 

The front side has a door, a mail slot, and a little sign.

The door is a rectangular hole, and the raw edges are covered with double fold bias tape (seen below).

The door is made out of flannel -- 2 rectangular pieces (slightly larger than the hole I made in the sheet), sewn right sides together with a little hole for turning right side out.  Then top stitched all the way around to close the little hole.  Ultimately I added a heart shaped window, edged with double fold bias tape also, and a flannel circle for a door handle. 

A line cut on the right front side and edged with bias tape made a mail slot, which I covered with flannel shaped like a mailbox. 

Below is the flap of flannel (it is secured to the sheet across the top only), with the word "mail" on it. 

Below you can see a picture of the front side.  The door is sewn across the top edge only.  The whole front side was sewn right sides together with the table top piece.  Again, notice how I used the already finished edge of the sheet to hang at the floor... easy peasy...

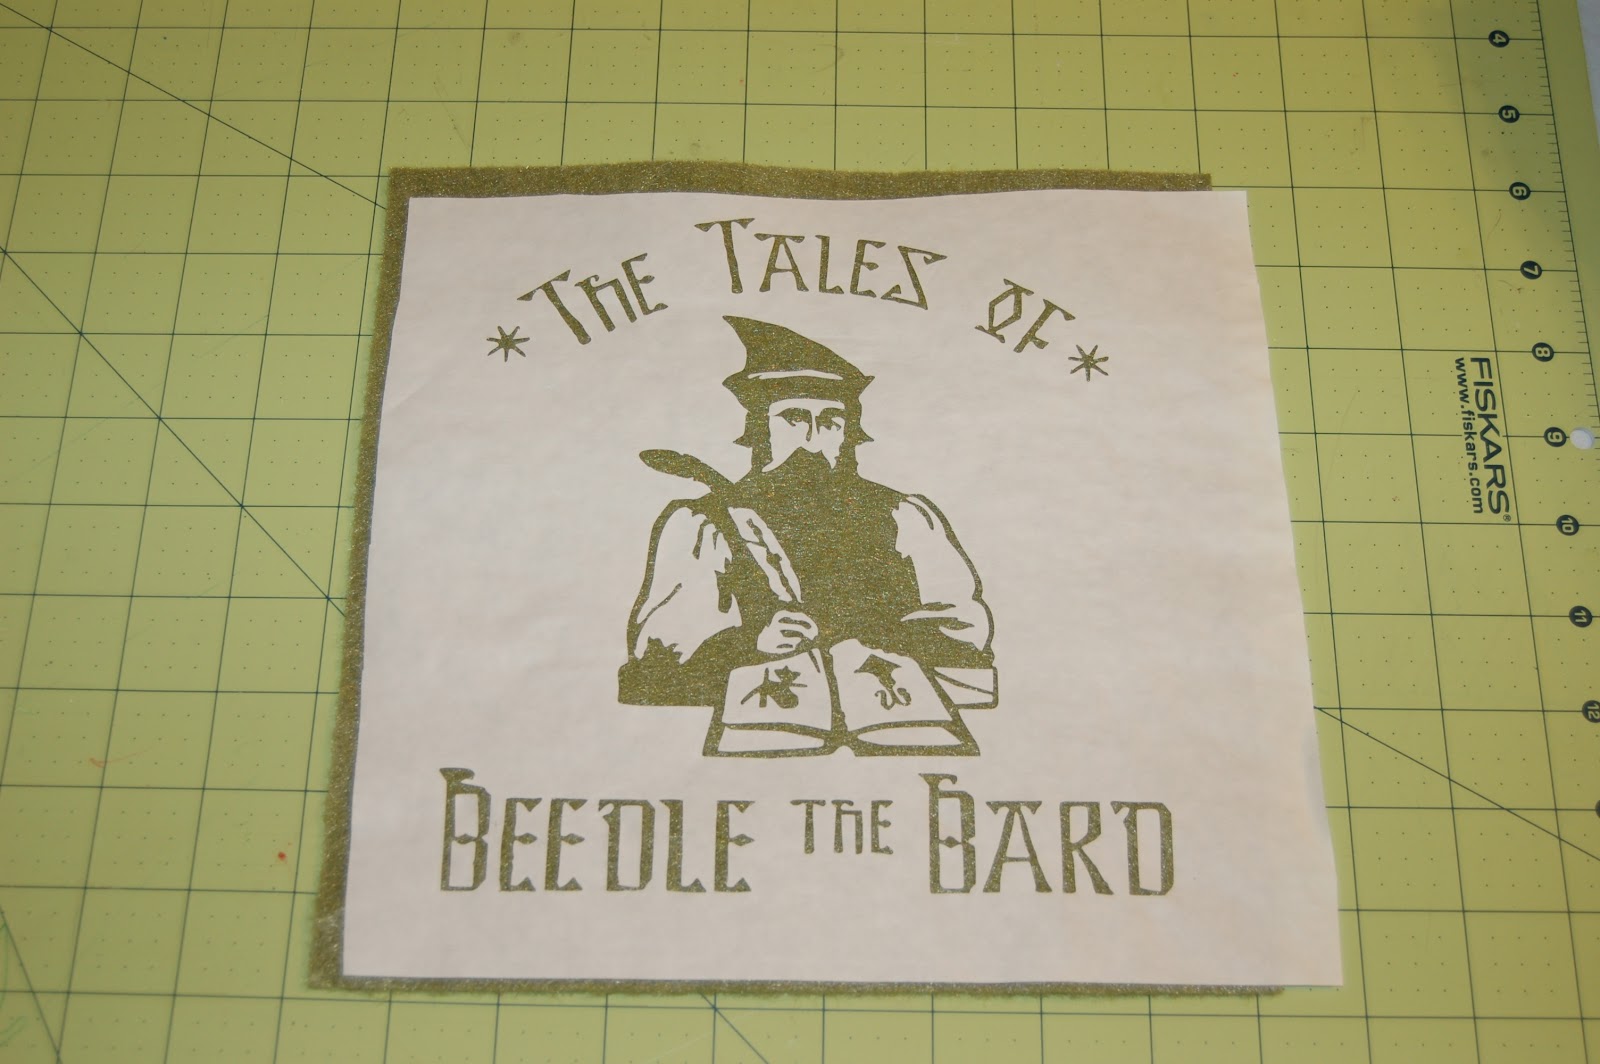
Here is a picture of the little sign - made out of flannel and iron on printer paper. 

The left and right sides have simple windows cut out of them.  4 square holes, with a bit of flannel along the edge. 
Adding the sides to the whole fort is done by sewing them to the top sheet (right sides together) and then connecting them with the front and back by sewing the adjoining edges right sides together before turning it all right side out. 

The construction is all very simple - but it makes a great cover for the table, and a perfect fort to play in!!  I left this on for a few days, and the kids were inside every day playing with toys and sending each other mail through the slot.  Success!!  Now I have something to pull out whenever they ask to make a fort :)

image signature

October 17, 2012

Wall Mounted Paper {or Magazine} Holder - by Computer


I really needed to clear of the little tiny desk space by my computer - and I was in the mood for a DIY project :)

I followed this tutorial at Lady Goats...

to cut and glue some MDF board onto a frame with glass.

Then, it got a little spray paint and some hanging hardware - and here it is...

Nothing glamorous - but certainly functional!  And free - since I had all the materials on hand :)
Try it out if you need one for yourself!

image signature

October 12, 2012

Monster Tooth Fairy Pillows


My oldest daughter is nearing the 6 year mark - and amidst all the other traumatizing events (yes, I am referring to starting Kindergarten, yet again, and the trauma it has caused her mother ;) ) ....
I also have to deal with LOSING TEETH?! 
I was pretty shocked to realize the other day that many of her friends have lost their first teeth!  Wow, what a milestone.

So, I have had this idea pinned for a while, and decided that I would rather be prepared with a place for the tooth fairy to visit (instead of being in denial) - whenever that inevitable first tooth comes out!


This great pillow idea came from Just Another Hang Up blog - and there are a few different, colorful styles there.

The tutorial explains how to "applique" (with a sewing machine) - but I don't see that they have a printable pattern. I just drew out my own shapes for the pattern using the many pictures on the blog, and made about a 9"x9" pillow.

I also added ribbon to the top, so that it could hang on the corner of the bed.

Just look at those snaggle teeth!  And the ears...and the crown. Have you ever seen a monster look so cute?? These are definitely the most adorable tooth fairy pillows I have ever seen :)


So now, at least, the tooth fairy will be taken care of, if not me, who will still have to deal with the fact that I have a daughter growing up way too fast!
And, I think I'll make a few more for friends and family - to help them welcome the tooth fairy also.  Since, despite what they represent, these are really fun to make :)


image signature

October 8, 2012

Felt Trick or Treat Bags - Harry Potter Edition!


I am in love with making these trick-or treat bags!
I started a few years back, and have been making them every year to match my children's costumes! They are quick, easy, fun to embellish, and add so much to the theme of the Halloween costume :)


This year, my kids have decided to be Harry Potter Characters.
We have a Hermione and a Hedwig - so I made trick-or-treat bags along those themes. 


For Hermione, I made a bag to look like 2 of her favorite books. 
Above, one side is Hogwarts: A History.
Below, one side is The Tales of Beedle the Bard.


I made the images using a freezer paper stencil that I had cut out with my Silhouette.  I painted onto the felt with regular acrylic paint. 


I stitched lines along 1 edge and the bottom, to look like book pages...(see below)

And I used a freezer paper stencil to make the spines of the books for the 3rd edge.   The embellishing is fun and different for every bag, but they are all sewn together the same way - so it is nice and easy. 

The other costume is Hedwig, the owl.  I decided to make the bag look like the envelope that Harry gets at the very beginning, inviting him to Hogwarts.  In this case, I did change the shape of the bag slightly, to make it a rectangle instead of a square. 

I found an image of the wording online, printed it out, and placed it behind the felt so that I could trace over the letters with an ultra fine point green sharpie.  I think it turned out great!


I sewed on little owl talons out of felt, to look like Hedwig holding the envelope. 


The back side has a simplified Hogwarts crest and wax seal - made out of felt and sewn down. 


Because these bags are made out of felt - and we usually go trick or treating a few times (you know, trunk or treat at church, town trick or treating the week before, and Halloween night!) - they are perfect for 1 year use.  They are not expensive or time consuming to make, so it is worth making new ones each year.  And the girls feel so special!!

Seriously, try it!  You will love how they turn out.  And as always, let me know if you have any questions when making your own...I'm happy to help :)

image signature